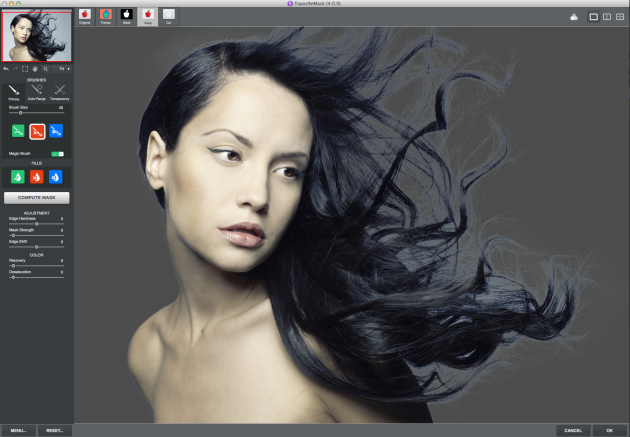
This tutorial uses Topaz ReMask as an alternative to Photoshop. If you haven't heard of Topaz ReMask already, you can download a free trial here and use it as a plugin within Photoshop (Filter-> Plugins) or as a standalone editor. The benefit of using ReMask in Photoshop is you can further conduct additional refinements once you've computed the mask, which I'll explain later in this tutorial.
I’ll admit it. I’m not that great at hair masking. Endless hours have been spent in Photoshop trying to find the perfect solution for what seems to be the most complicated task. Each attempt ends in either an ultimate failure or sub-par result.
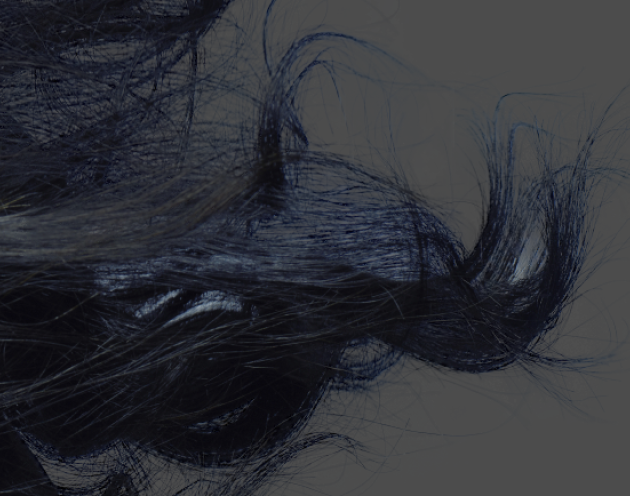
Feeling defeated and shutting off the program was not uncommon. Here’s one of my masking attempts 20 minutes later:
The background is still bleeding through, even after excessive work to remove it.
This was until I discovered a new way to mask hair. Browsing through a DPR forum thread on ReMask, I stumbled into a new and effective idea for masking out people from the background.
“It can’t be this easy!” were my initial thoughts. But after so many struggles to get a clean mask, I had to try it out…and it worked! So now I will share this method with you.
Before we start, I first must note that this masking method works best with images that have a solid background or a background that is not the same color as the hair.
Step 1: Creating Your Tri-Map
We’ll start by creating a tri-map, which is the technology ReMask uses to make its extractions. There are three colors you will always work with when creating a mask: blue (compute), red (cut) and green (keep).
- To start, bring your image into Topaz ReMask.
- Upon entering the program you’ll see that your image is filled with green. Use the blue fill bucket to fill the entire image with blue (shortcut key Y).
- Next, select your green primary brush (shortcut key Q). To adjust the size of the brush, use the bracket [ , ] keys.
- With the green primary brush selected, draw quick gestures inside of the subject. The purpose of this is to give the program a better idea of what to keep. You do not need to be excessive here…a few quick strokes will be sufficient.
5. Now select the red primary brush (shortcut key W). Draw a quick outline of the background to give ReMask an idea of what it is to cut.
6. Press Compute to compute the mask (shortcut key Enter).
Step 2: Refining Your Mask
Now that you’ve computed the tri-map, you should see a mask. I can already tell that this is an excellent mask, better than before. However, before you press OK to return back to your host editor with the extraction, you’ll want to do a few masking refinements first.
1. To start, view the image in Keep mode (shortcut key 4) to view the extracted image.
2. If you wish to change the background color for better viewing, simply press ctrl/cmd + B or go to Menu-> Select Background.
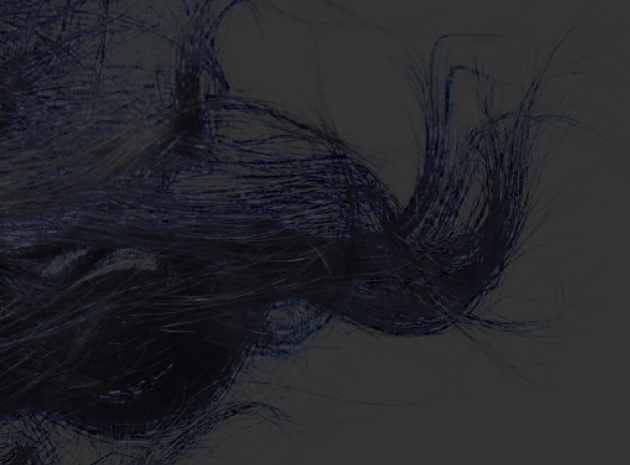
3. To fix the background bleeding coming through, navigate to the adjustments. Under color, increase the recovery slider all the way to 100. You should see a significant change here.
4. There is now one major problem spot in the lower right corner that needs to be fixed. I now realize that this occurred because in my original tri-map I went in too far right with the green brush strokes in the hair.
To fix this, select the red primary brush and reduce it to the smallest size possible. Then dab in the areas where you see background still bleeding through (in my case I am dabbing the baby blue areas).
Should there be any other areas of your image that need further refining, use the primary brush tools in red and green to remove or keep certain areas of the mask.
Should you make a mistake, there’s always ctrl/cmd + Z as well as the blue primary brush tool in which will erase over a red or green selection.
5. You may also choose to save the mask you created during this process. To do this, go to Menu-> Save Mask/Tri-Map. The mask will save as a .tiff file that can be loaded into ReMask for future use. Please note that this mask will only work with the image it was originally used on.
6. Press OK to return the extraction back to your host editor, either on a new layer or as a layer mask (go to Menu-> Preferences within ReMask to choose this).
Step 3: Final Touches in Photoshop
Here’s the extraction back in Photoshop (I'm using the ReMask plugin and not the standalone editor). I am quite pleased. :)
Although, just to be sure, let’s put a plain background underneath the masked layer to help us detect any leftover flaws, if any.
1. Create a new layer by clicking on the layers icon at the bottom of the layers panel.
2. Drag that layer underneath your masked image. Your layers panel should look like this:
3. With the new layer highlighted, select the Paint Bucket Tool (shortcut key G) and fill that layer with the color of your choice.
I can detect a few problem areas, most noticeably some stray hairs which are not needed. The eraser tool (E) can be used to remove any remaining unwanted areas.
4. To finalize the image, let’s pick a background! The model somewhat reminds me of the Greek Mythological figure Calypso, so I chose a photo of the sea that has a moody tone to it (reminds me of the imagery depicted in The Odyssey).
You may then need to adjust the lighting, temperature, tone and color of both the background and masked object to match one another.
If placing the masked object onto a darker or lighter background, another trick is to use the dodge and burn tools to either lighten or darken pixels to help the subject blend in with its background.
All in all, depending on the circumstances of your image, I hope that this alternative method for using ReMask has granted you new insights as to how the plugin operates as well as to how you can use it in your creative workflow. This method is not right for every photo, but for some, it’s perhaps one of the best tricks to know about in ReMask.
This tutorial was originally published on topazlabs.com.


